
How to Sew a Tie Strap Bag - FREE pattern
- Cassidy

- Feb 23, 2025
- 2 min read

In this tutorial, I will teach you how to sew this adorable and simple shoulder bag! It does not use much fabric and is perfect for a beginner. There is also no paper pattern, all it takes is a few rectangles of fabric and a sewing machine!
Here is a video for extra help:
What You Will Need:
Two contrasting fabrics (one for the shell and one for the lining)
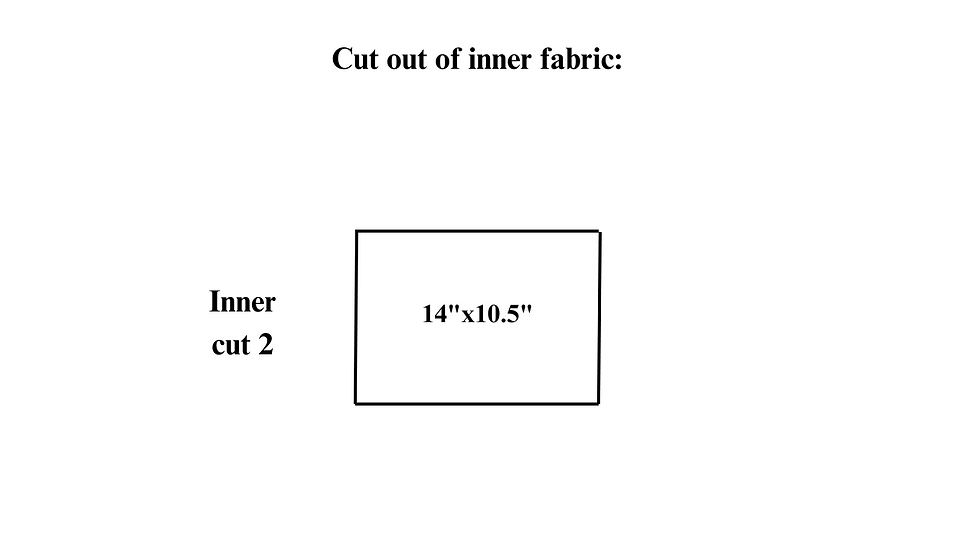
Inner fabric such as foam interfacing, wadding or felt.
General sewing equipment
Method:
Cut out each of these pieces of fabric:


On one of your main pieces, in each bottom corner draw a square of 2". Cut out the squares.
Repeat with your remaining main piece, your lining and inner pieces.
Place your inner pieces on the wrong sides of your main pieces and baste them together.
Place your main pieces right sides together and sew down both the sides and the bottom.
Open the squares at the corners and match the two seams right sides together.
Sew them closed.
Sew your two lining pieces in the same way.
Turn it right sides out.
Place your two facings right sides together and sew down the two short sides.
Slip the facing over the lining and pin it together, matching the side seams.
Sew them together.
Fold your strap piece right sides together, width ways. Sew down the longest edge.
Turn right sides out and iron flat.
Fold your tie pieces right sides together and sew down the longest edge and one of the short edges.
Turn right sides out an iron flat.
Pin the raw edge of your ties at the centre front a back of the main piece.
Pin either side of the strap to the side seams.
Place your lining inside the bag, match the side seams together and pin in place.
Sew around the top of the bag, but leave a small gap.
Turn right sides out.
Iron flat and oversew around the top of the bag, closing the hole.


Comments